# Github Pages 활용

Github에서는 소셜 코딩뿐만 아니라 Pages (opens new window) 기능도 제공하고 있다.
가장 많이 사용하는 방법은 이 블로그처럼 블로그로 사용하는 방법이다. 블로그로 사용하기 위해서는 Jekyll (opens new window) 이나 Hexo (opens new window)를 이용할 수 있다.
{username}.github.io 라는 리파지토리를 생성하면 같은 도메인명으로 바로 블로그를 이용할 수 있다.
이와 마찬가지 방법으로 다른 repository 마다 Github Pages를 만들 수 있다.
- 자신이 페이지를 만들고자 하는 리파지토리에 들어가 "Settings" 탭을 들어간다.

가장 먼저 나오는 "Options" 탭에서 아래로 내려가다 보면
"Github Pages"을 볼 수 있다.
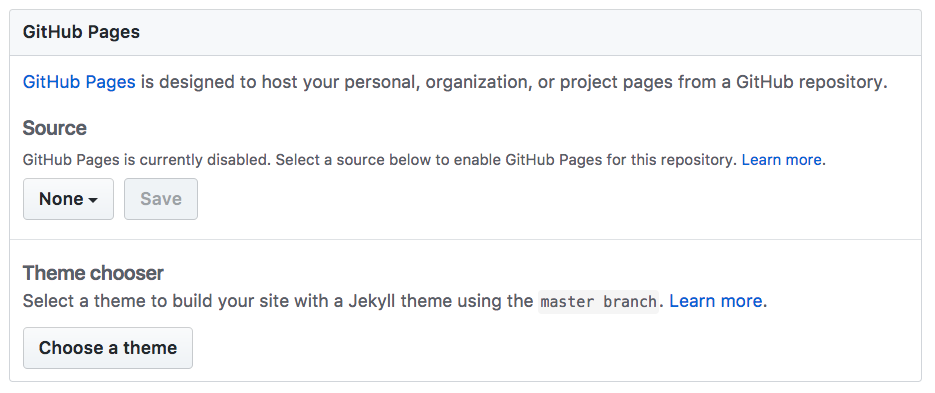
# 방법 1. Theme chooser
- 깃헙에서 제공하는 지킬 테마를 그대로
README.MD보여준다.
# 방법 2. Source
master혹은gh-pages브랜치의 소스를 pages로 제공한다.master브랜치에서/docs하위 폴더에 작성할 수도 있다.
위 방법을 통해 간단하게 자신만의 페이지를 만들 수 있다.
이렇게 Pages를 사용하게 되면 github에 있는 raw 소스를 cdn 처럼 사용할 수도 있다.
예를 들어, Github에 올라간 CSS 파일을 raw를 이용하여 <link href=" "> 적용하게 되면
Resource interpreted as Stylesheet but transferred with MIME type text/plain: "https://raw.githubusercontent.com/twbs/bootstrap/v4-dev/dist/css/bootstrap.css".
Console에 위와 같은 경고가 뜨며 사용할 수가 없다.
이를 해결하기 위해서는
# 1. RawGit (opens new window) cdn 서비스를 이용하거나
<link href="https://cdn.rawgit.com/twbs/bootstrap/v4-dev/dist/css/bootstrap.css" rel="stylesheet">
# 2. 위 방법 2. Source 로 Github Page를 만들어 파일 path를 그대로 사용하면 된다.
- http://{username}.github.io/{repository}/{file}
<link href="https://jiyeonseo.github.io/bootstrap/dist/css/bootstrap.css" rel="stylesheet">